

Hello Crafty Friends.
In this post, I’m sharing the August club products featuring The Stamps of Life Awesome Aprons stamp and die set, along with the coordinating card kit. Let’s take a closer look at this month’s release.
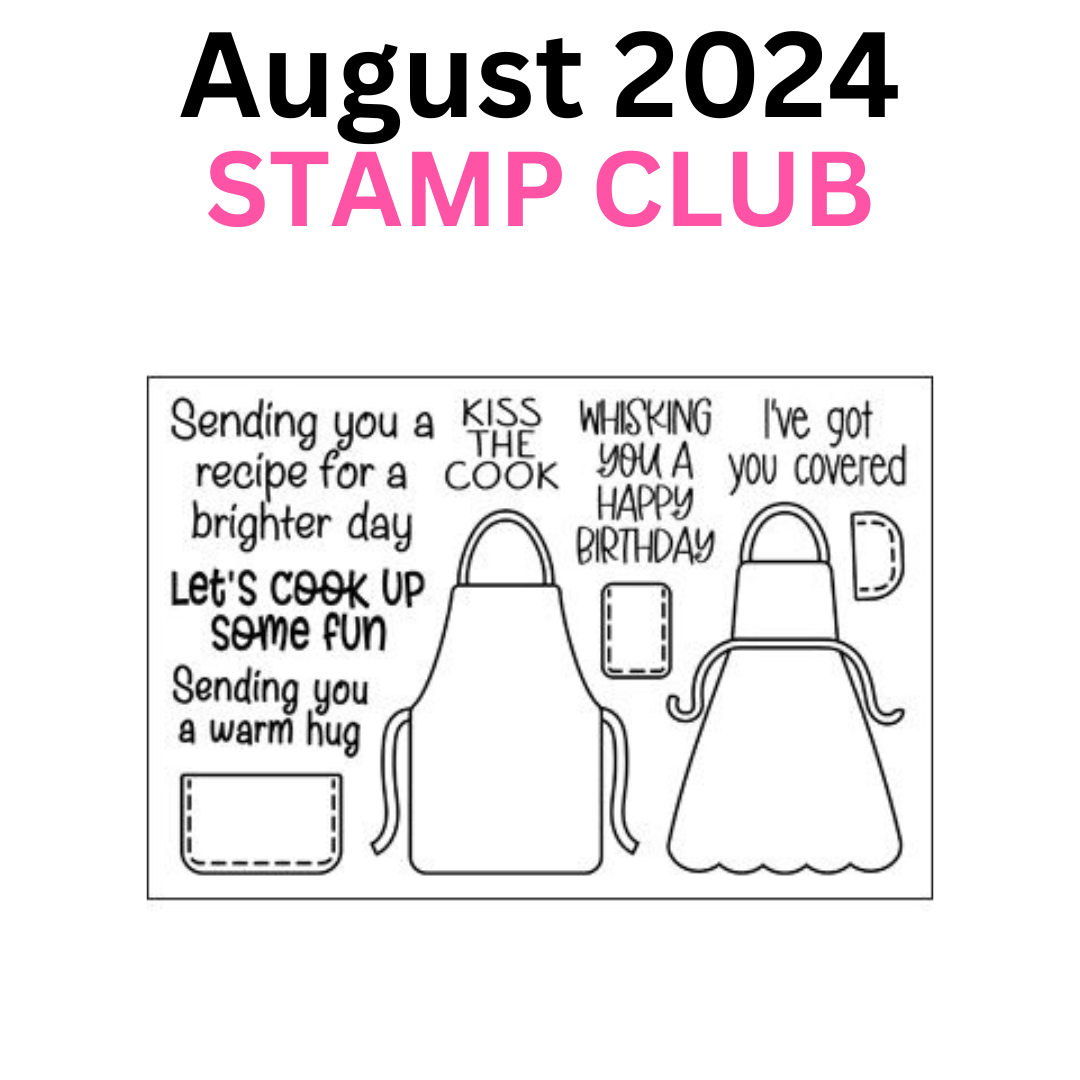
The Stamp Club and Die Hard Club set for August 2024 is called Awesome Aprons. The set comes with a two aprons and some stamps that can be used to create pockets on the aprons. I love that there are two apron styles in this set — one has a straight edge and one has a ruffle edge. If you want to use this set for masculine cards, you can use the straight-edged apron to make a masculine cards. There are also lots of sentiments included.
In August, Stamp Club members will receive the Awesome Aprons stamp set below.
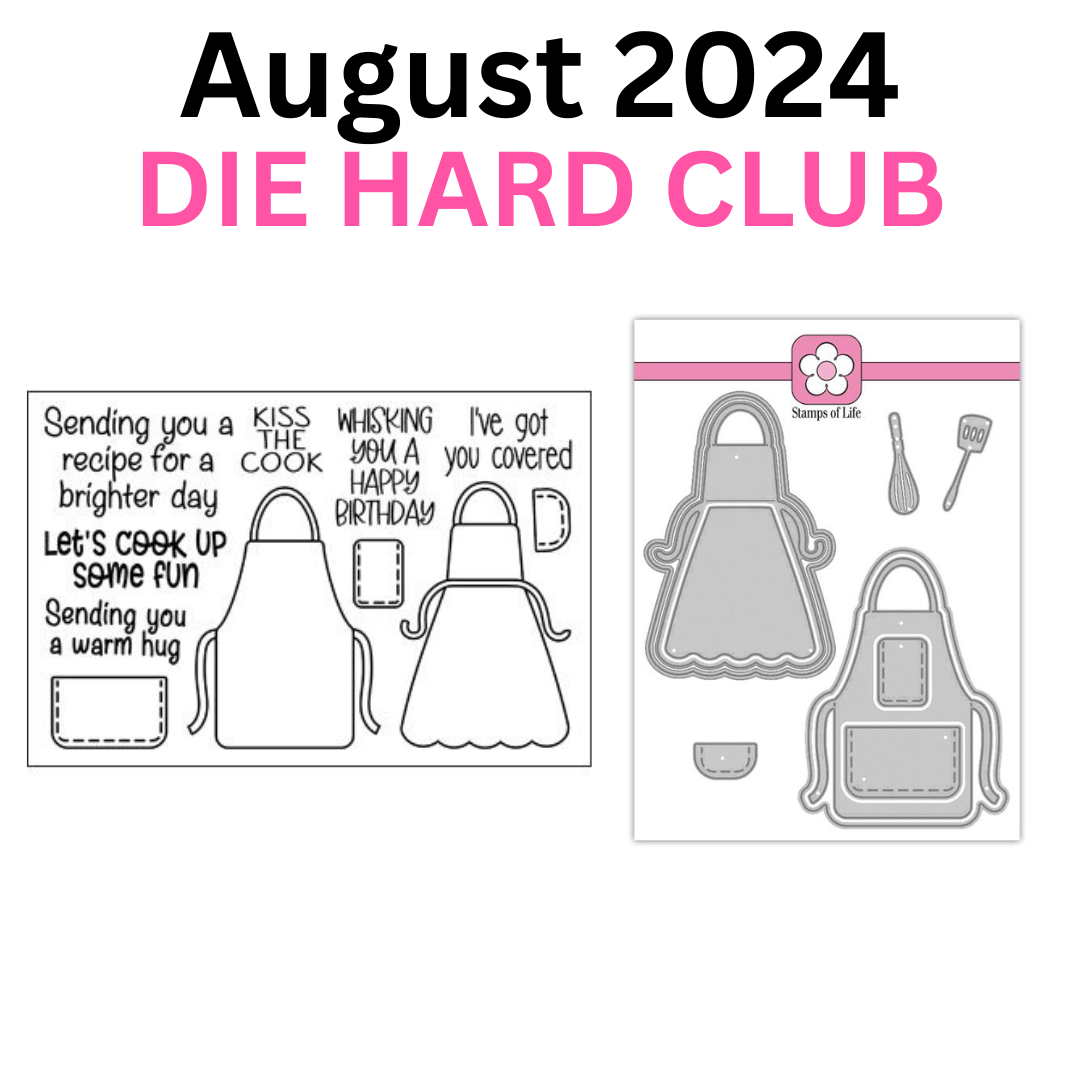
The Die Hard Club members will receive the Awesome Aprons stamp and coordinating dies. I love that the dies this month also include a spatula and wire whisk, a perfect addition to the apron!
The Card Kit Club is called Thankful for You and it corresponds to the monthly club set, Awesome Aprons.

The card kit includes 12 pieces of 8 1/2″ x 11″ cardstock, A2 envelopes, plastic storage envelope, paper pad, button stickers, chipboard embellishments, round blue embellishments, blue ribbon, pink gingham bows, and an A1 Oval Flip-it Card Die Set which includes a flip-it card die set, Thankful for You word die, and flower dies.
There are lots of perks to being a club member.
- Earn club points to spend in the store
- Receive 15 percent off discount on everything in the store (a 20 percent discount for card kit members)
- Receive a $15 gift certificate on your club anniversary ($25 for card kit members)
- and more!
This month, The Stamps of Life included a FREE die with the Stamp & Die Club shipments AND the card kit club shipments. Woo Hoo! That’s another perk of being a club member!
To find out more about The Stamps of Life clubs, click here.
My favorite club of all is the Gold Club which consists of the Die Hard Club and Card Kit Club.
I am a Stamps of Life club affiliate so if you decide to join a Stamps of Life club or upgrade your current membership, I always appreciate when you click on my link as I will receive a small commission at no extra cost to you. You can find my Stamps of Life club affiliate link here. As a bonus, you will receive 500 Club Points (a $5.00 value) if you use my affiliate link or if you enter my Promo Code when you sign up for one of the TSOL clubs. My promo code is LISAMEARS. As always, I appreciate your support!
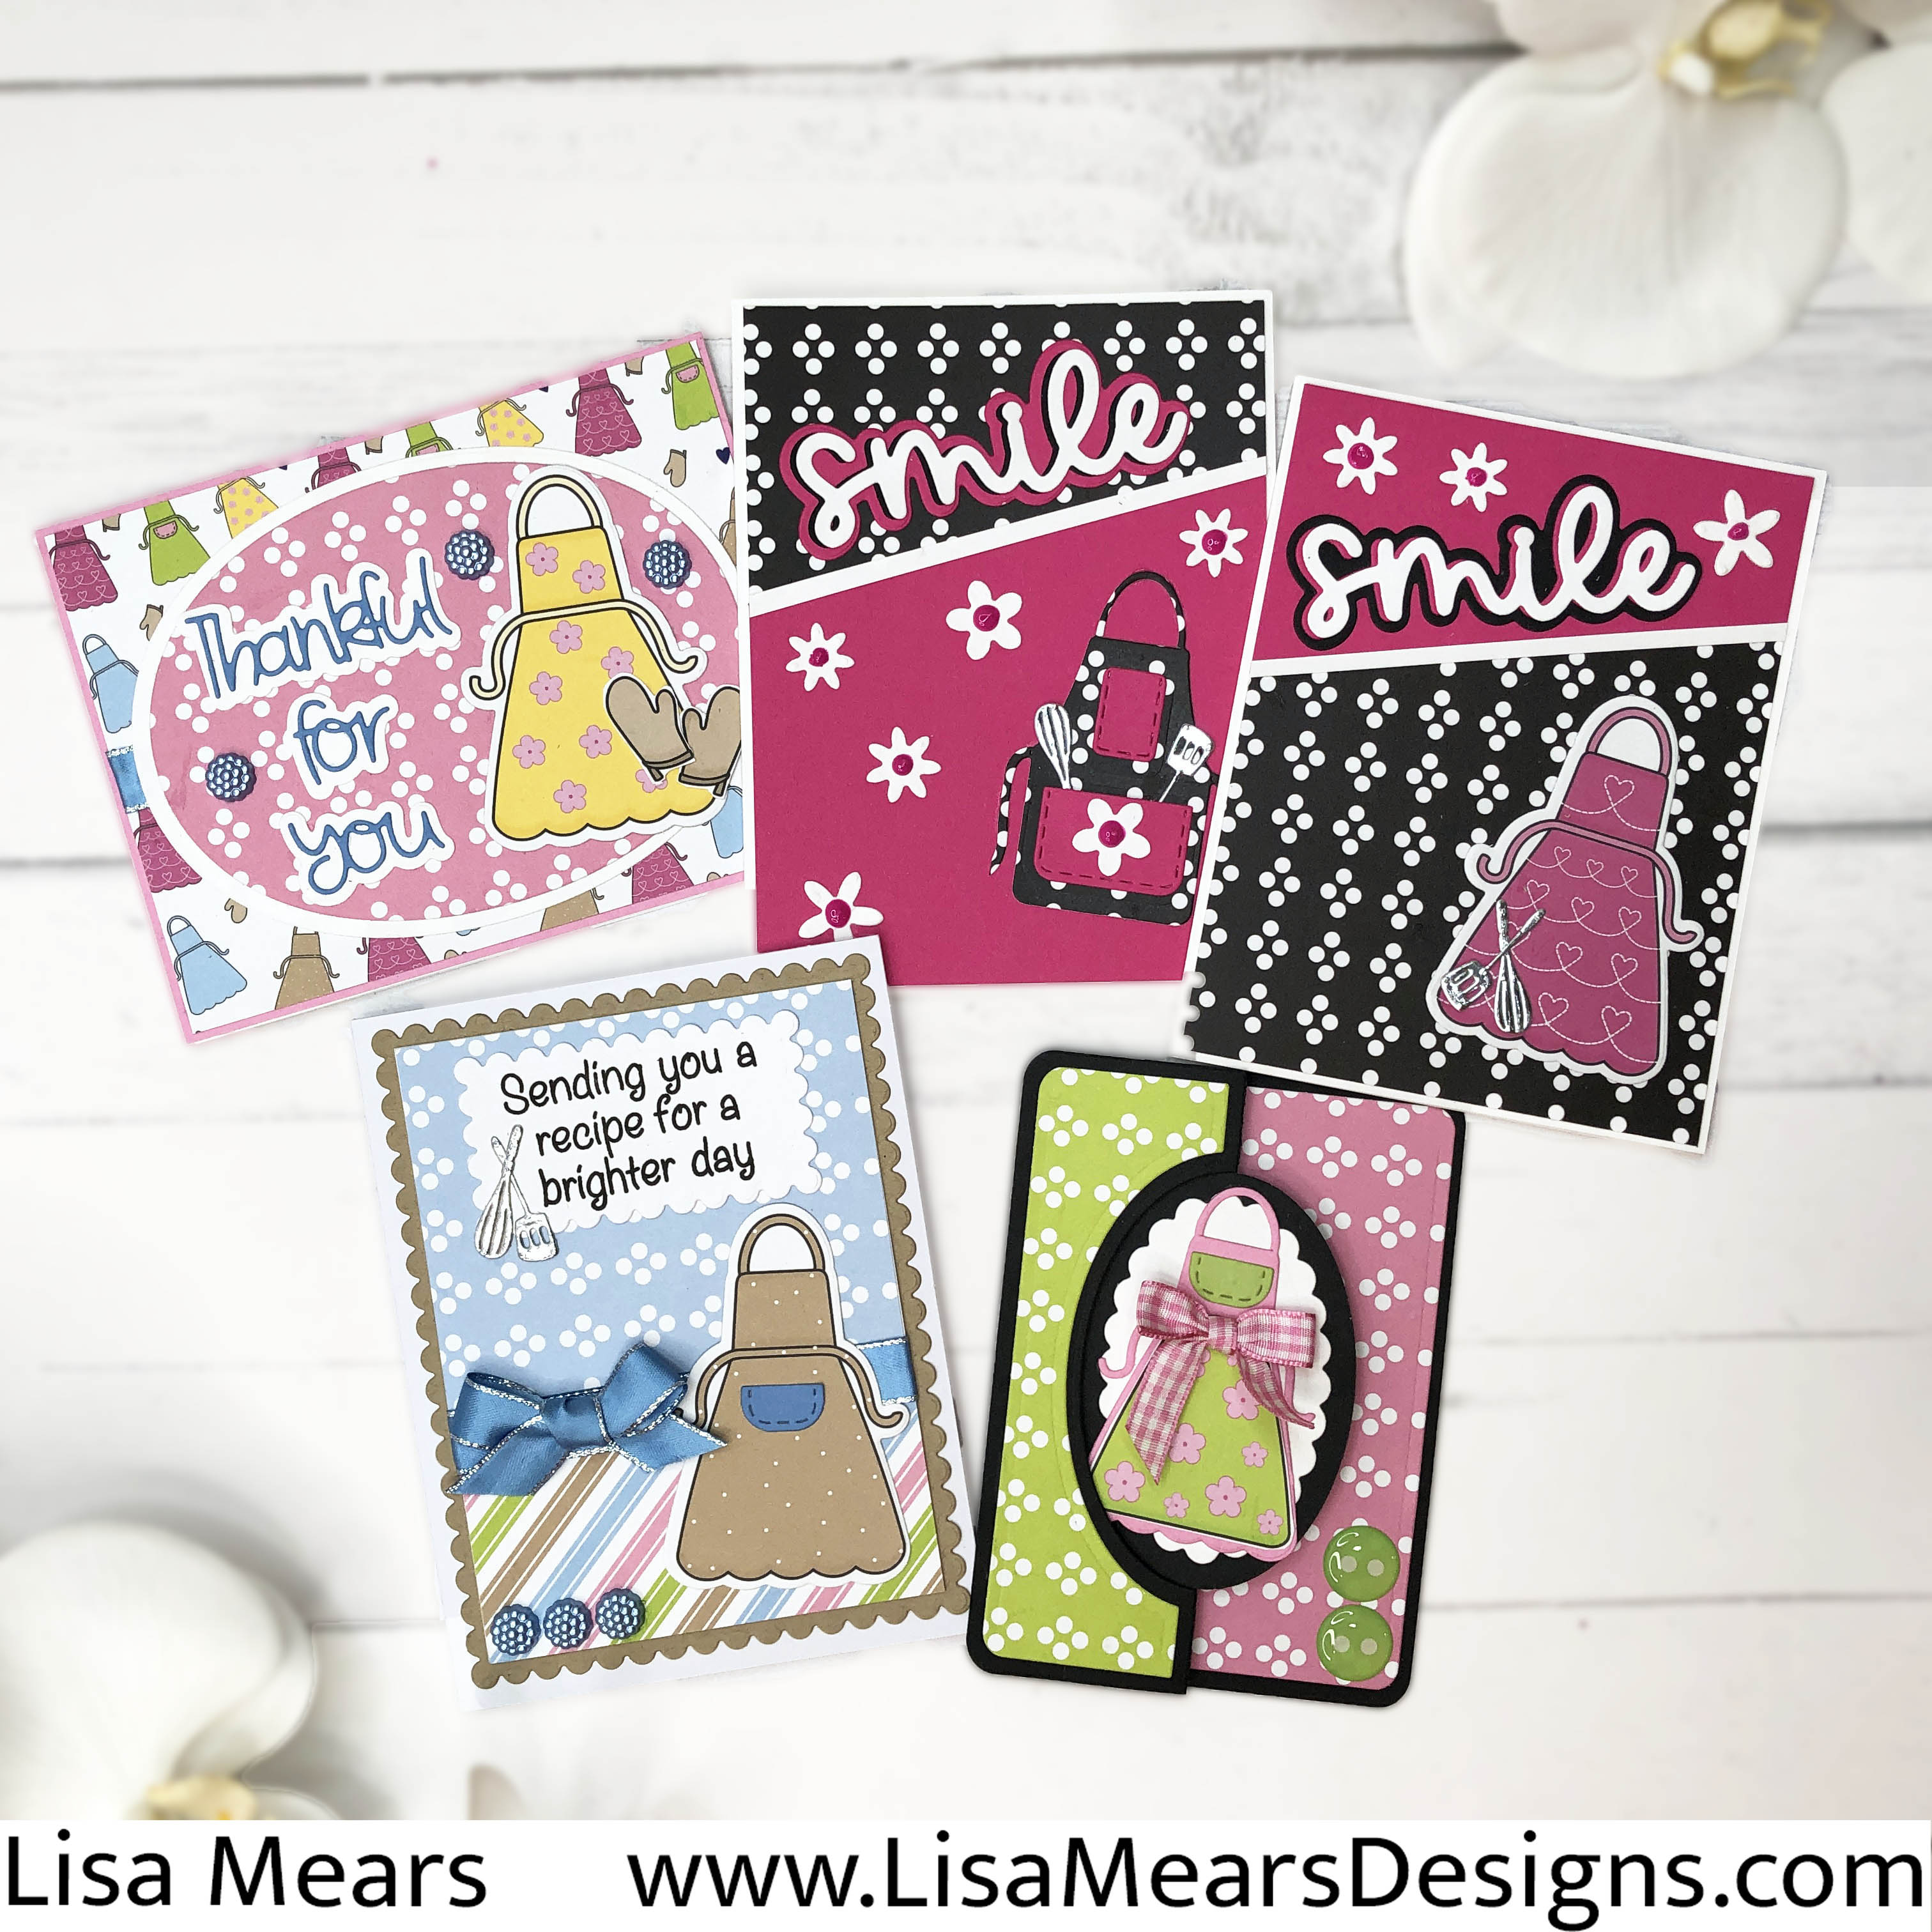
I made 5 cards with this month’s club products.
If you would like to see the club contents up close and how I made all of my cards, then watch my video on YouTube or below.
Card 1

- White A2 Card Base – 4-1/4″ x 5-1/2″
- Blue Pattern Paper – 3-5/8″ x 3-1/4″
- Stripe Pattern Paper – 3-5/8″ x 1-3/4″
Hint: Cut a piece of white cardstock to 3-5/8″ x 4-7/8″ and add the pattern paper to the white cardstock. This is the card layer that is adhered to the scalloped rectangle. - Add a ribbon where the pattern papers intersect.
- Pink and Main Scallop Rectangle Dies – cut largest die with Gingersnap Cardstock and cut another smaller die with white cardstock for the sentiment.
- Utensils — Awesome Aprons Die Set plus Spellbinders Silver Mirror Cardstock
Card 2
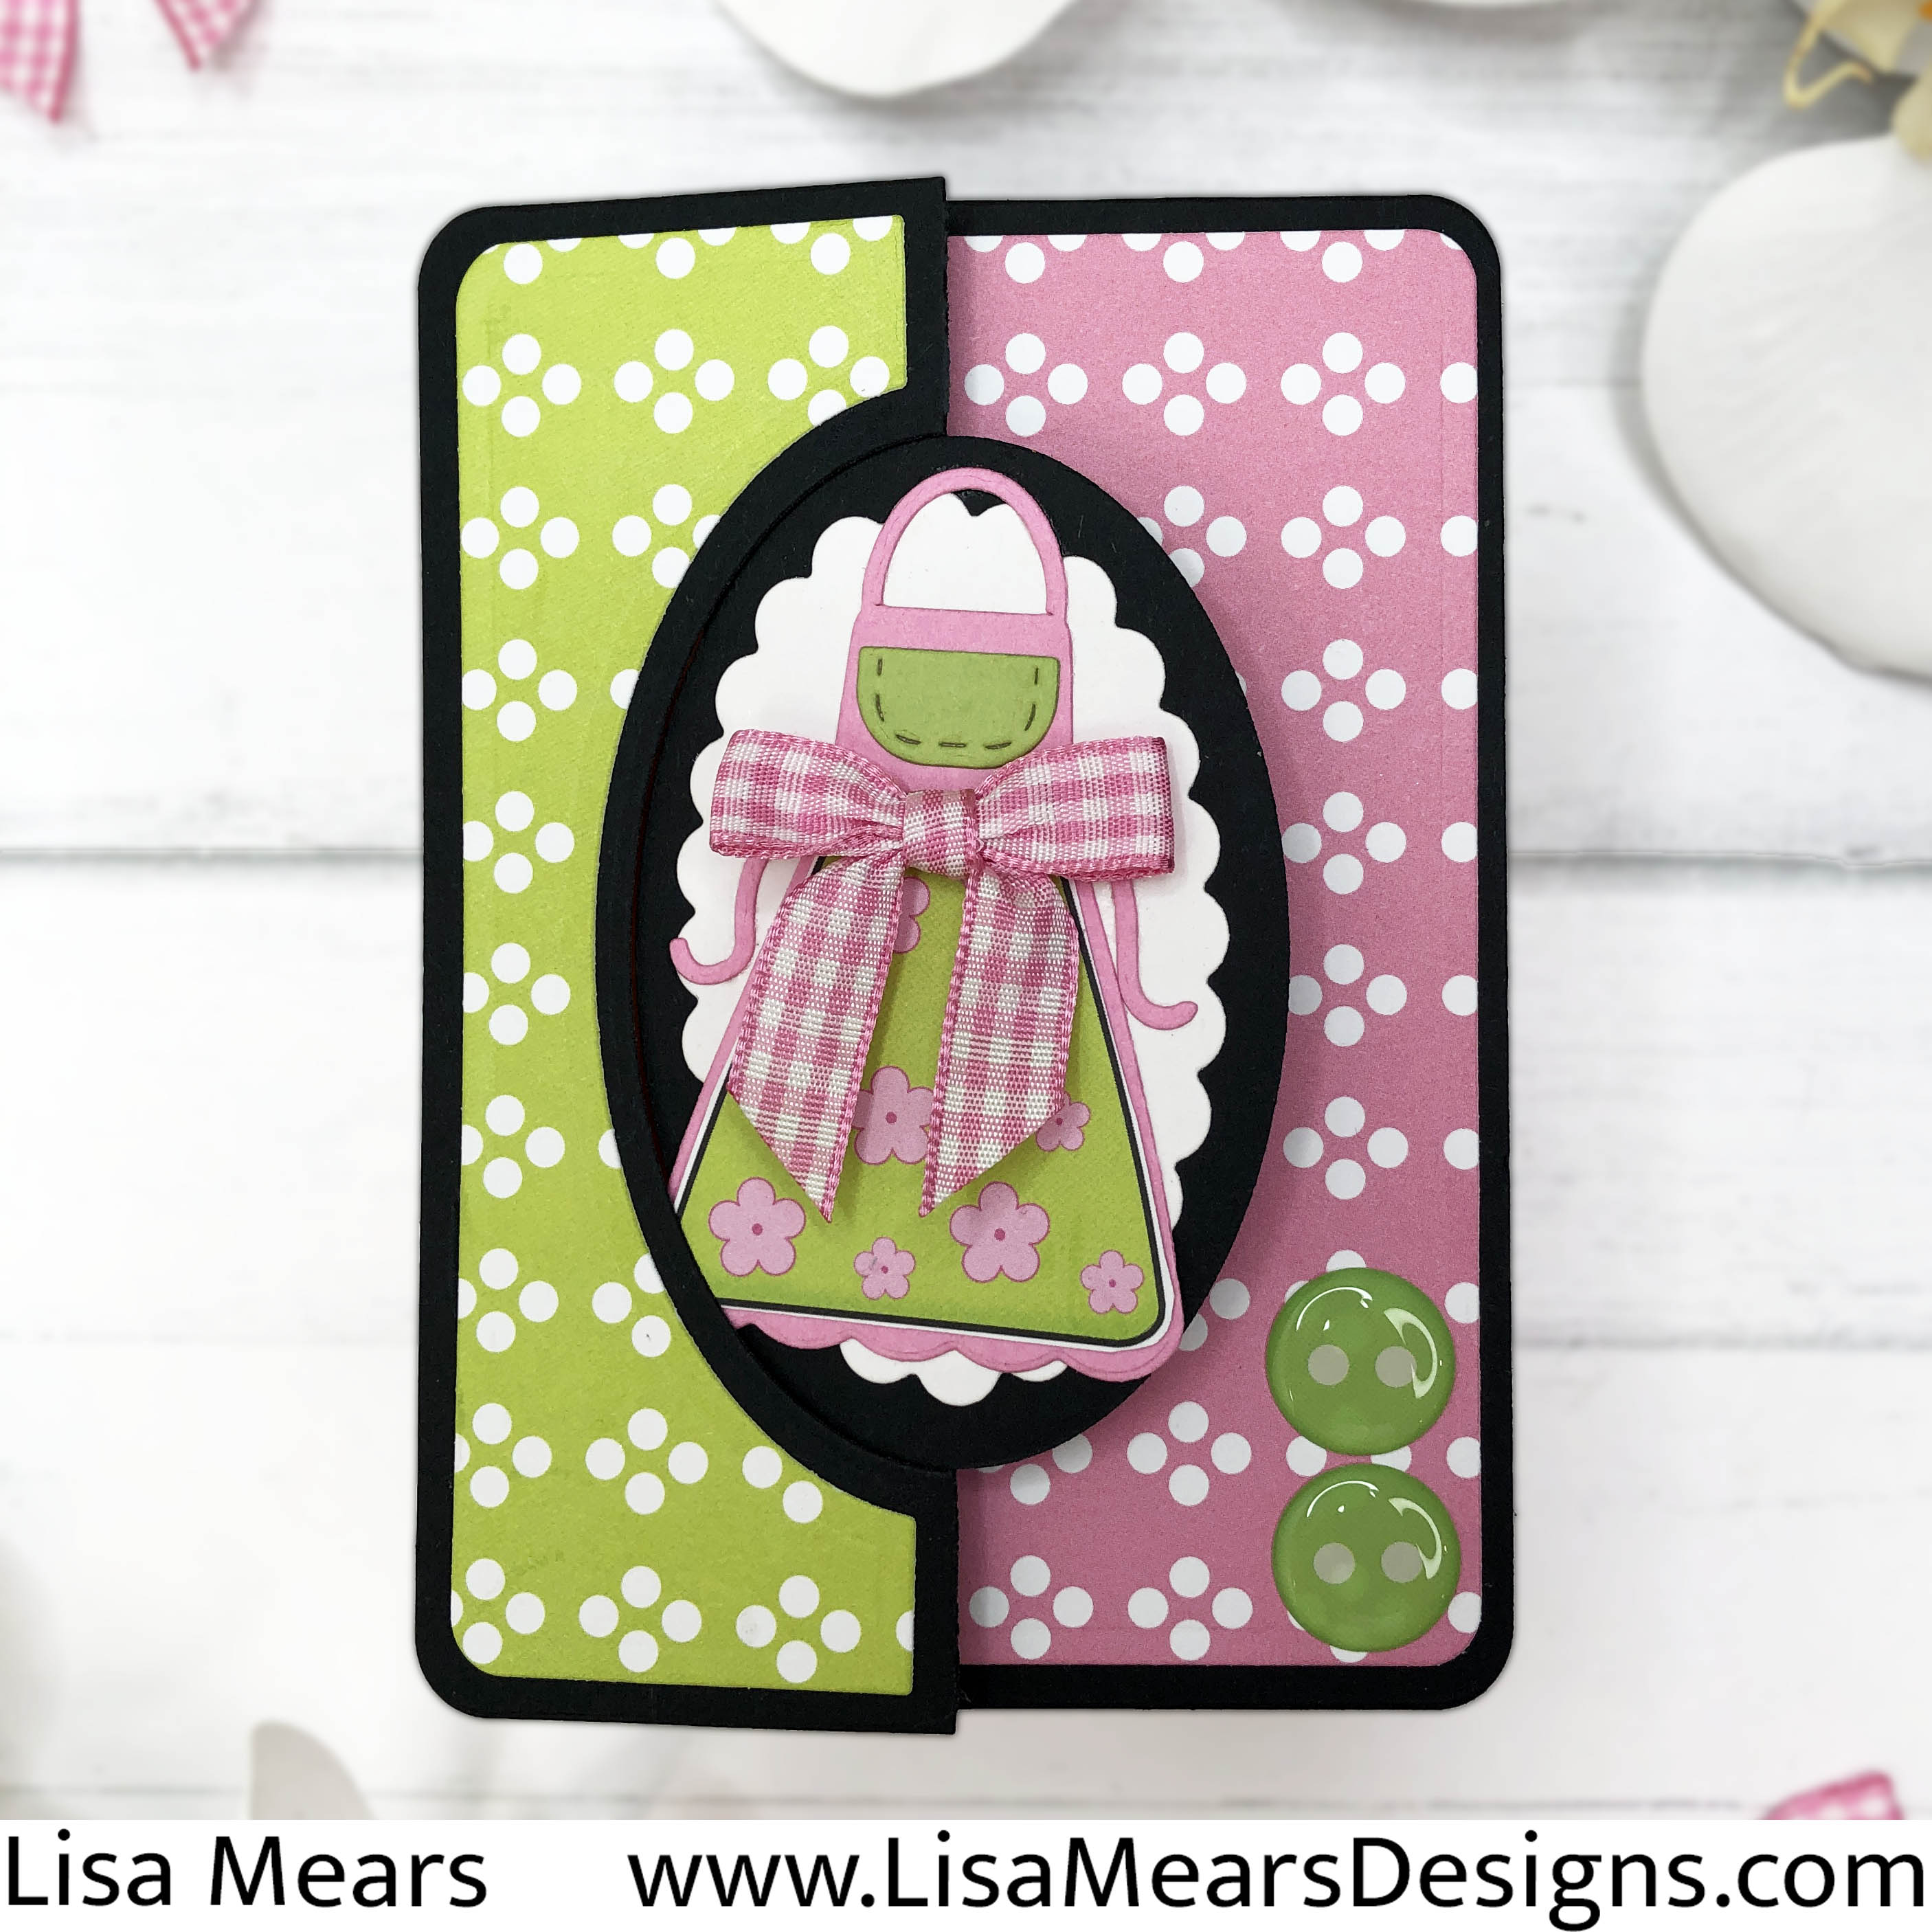
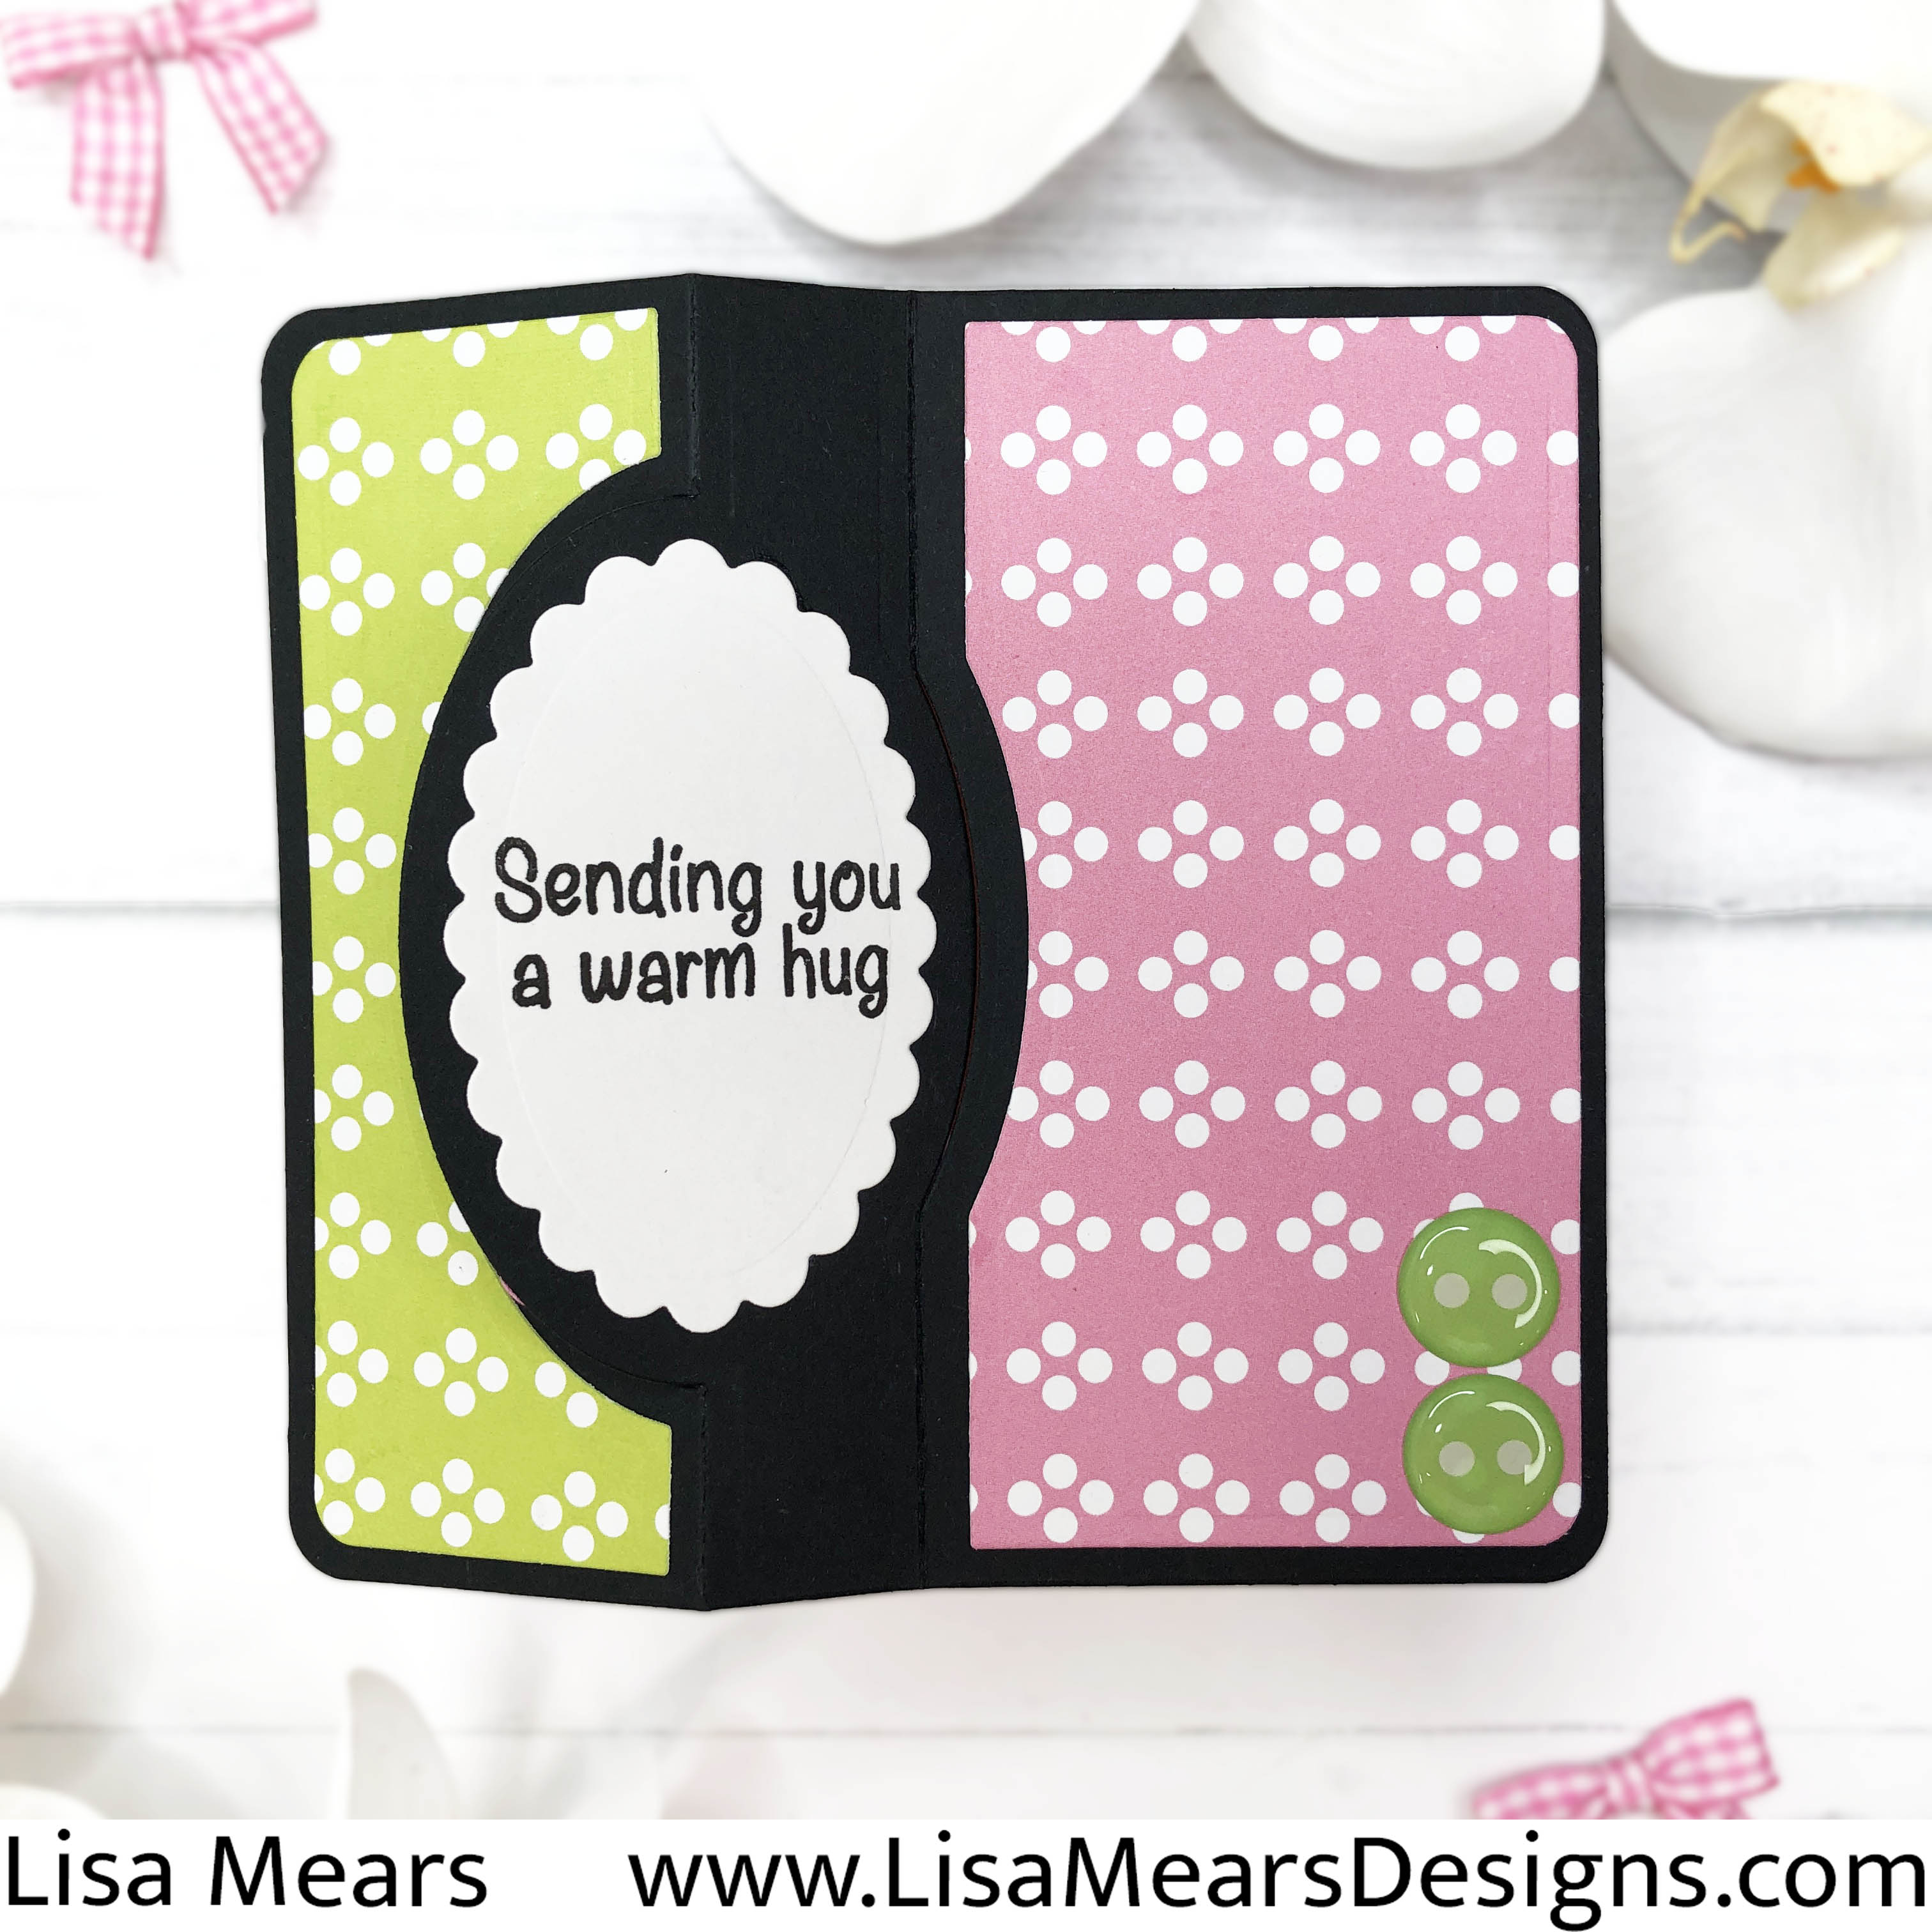
- A1 Oval Flip-it Die Set – Use black cardstock from stash for the card base; use pattern paper for the left and right sides, and cut two scallop ovals with white cardstock for the center.
- Apron – Use the Awesome Aprons die set to die cut an apron with Candy cardstock. Add a pocket with Kiwi cardstock. Add the apron floral layering piece from the paper pad to the apron.
Cards 3 & 4

- Use two pieces of paper (Guava cardstock and Black/White pattern paper) and cut both to 4 1/8″ x 5 3/8″.
- Line up the paper and trim in a diagonal. (Hint: Align top right corner of paper at 1-1/4″ on ruler while aligning the top left corner of paper at the 2″ mark on the ruler. (Watch my video to see exactly how I did this.) This will give you four pieces of cardstock from which you can make two cards.
- Cut a piece of white cardstock to 4-1/8″ x 5-3/8″ and add the cut cardstock/pattern paper to the white cardstock.
- Cut a white strip of cardstock to approximately 1/8″ to cover the line where the two pieces of cardstock/pattern paper intersect.
- Sentiment — Smile word die (This is the free die for card kit members.)
- Flower Dies — A1 Oval Flip Card Die Set
- Center of Flowers — Scrapbook.com Raspberry Kiss Pops of Color
- Utensils — Awesome Aprons Die Set plus Spellbinders Silver Mirror Cardstock
Card 4
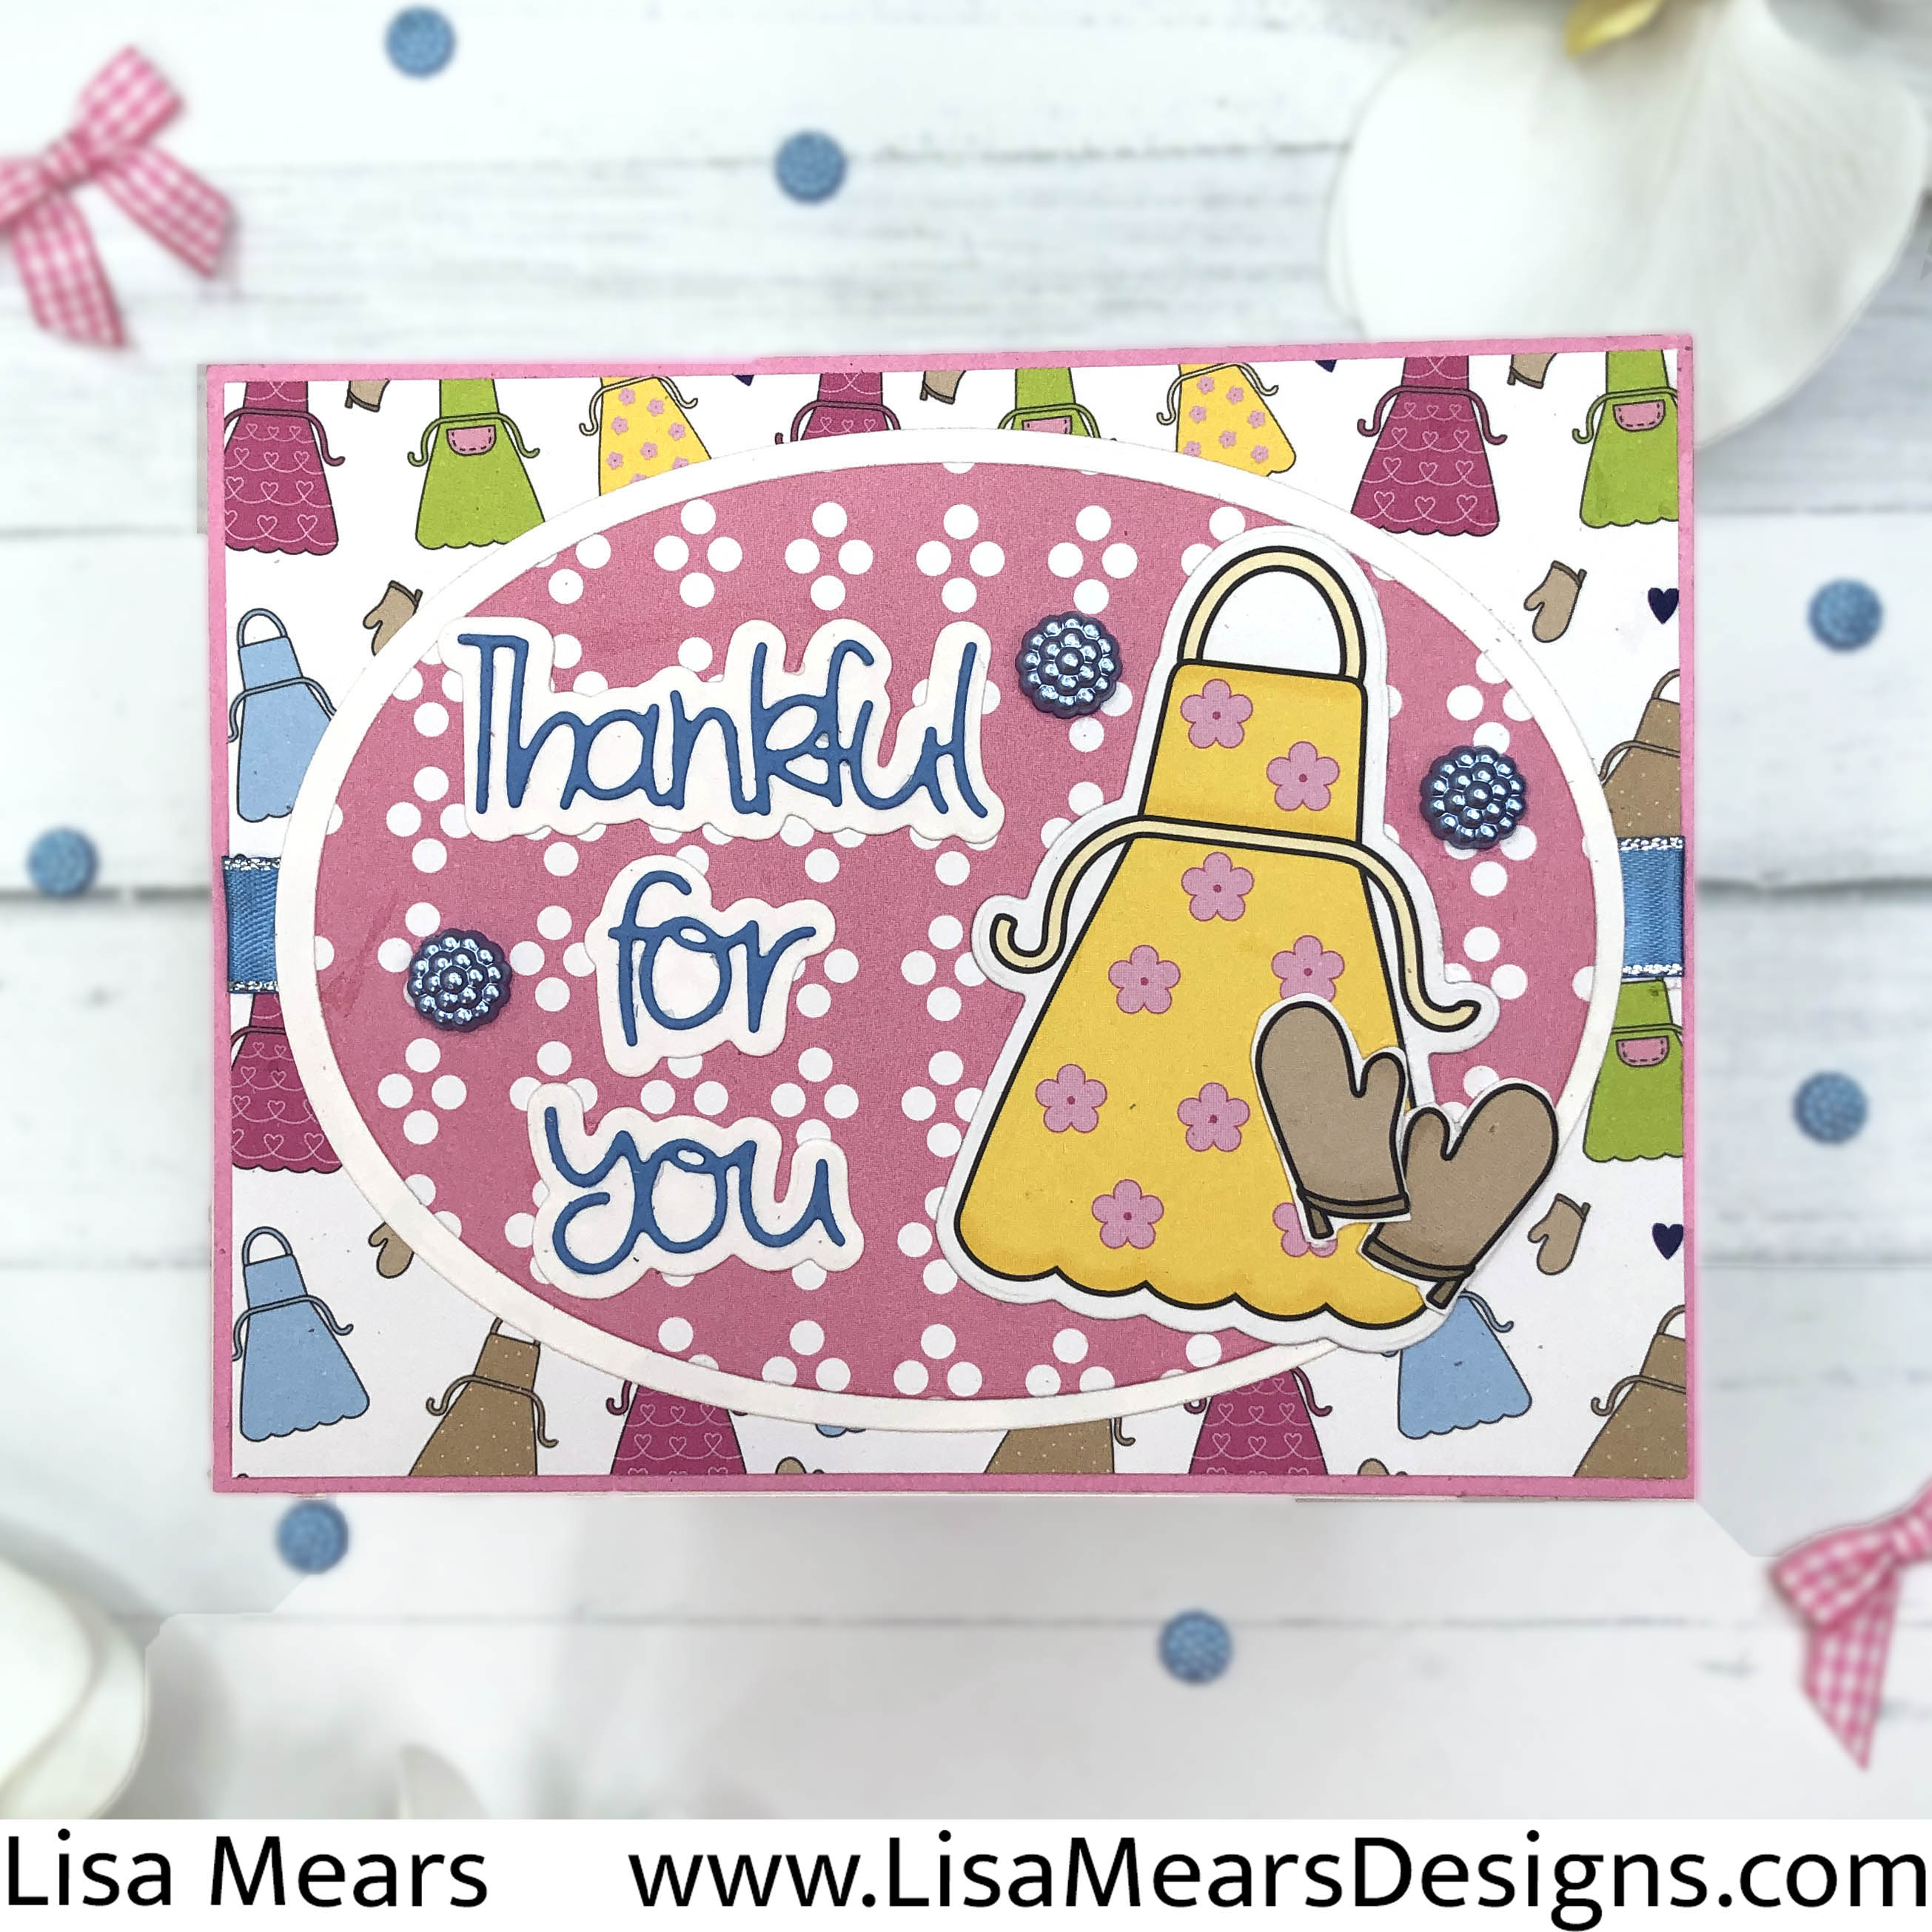
- White A2 Card Base – 5-1/2″ x 4-1/4″
- Candy Card Stock – 5-1/2″ x 4-1/4″
- Apron Pattern Paper – 5-3/8″ x 4-1/8″
- Oval Dies – Waffle Flower
- Thankful For You Word Die – A1 Oval Flip-It Card Die Set
Once again, if you would like to see how I made all of my cards, be sure to watch my video on YouTube.
Thank you for stopping by today. Have a great day!
Lisa
Additional Supplies:
- Pink and Main Scallop Rectangle Dies
- Spellbinders Silver Mirror Cardstock
- Scrapbook.com Pops of Color, Raspberry Kiss
- Waffle Flower Nesting Oval Dies
- Versafine Onyx Black Ink
- Scrapbook.com Mint Tape
- Scrapbook.com Mint Tape Dispenser
- Bearly Art Precision Craft Glue
- Spellbinders – Black Platinum 6 Die Cutting Machine
- Scrapbook.com – Self-Healing Workspace Mat
- Scrapbook.com Rose Quartz Misti
Follow me for more inspiration:
- Blog – https://lisamearscarddesigns.com/
- Instagram – LisaMearsDesigns
- Facebook – Lisa Mears Designs
- Pinterest – https://www.pinterest.com/lisamearsdesigns/
- You Tube – https://www.youtube.com/c/LisaMearsDesigns
- Etsy –https://lisamearsdesigns.etsy.com
Please support me by using my affiliate links above. When you click on on my link and make a purchase, I get a small commission of the sale at NO extra cost to you. Using my links helps me be able to bring in more content to share with you. I appreciate your support! Thank you!
