
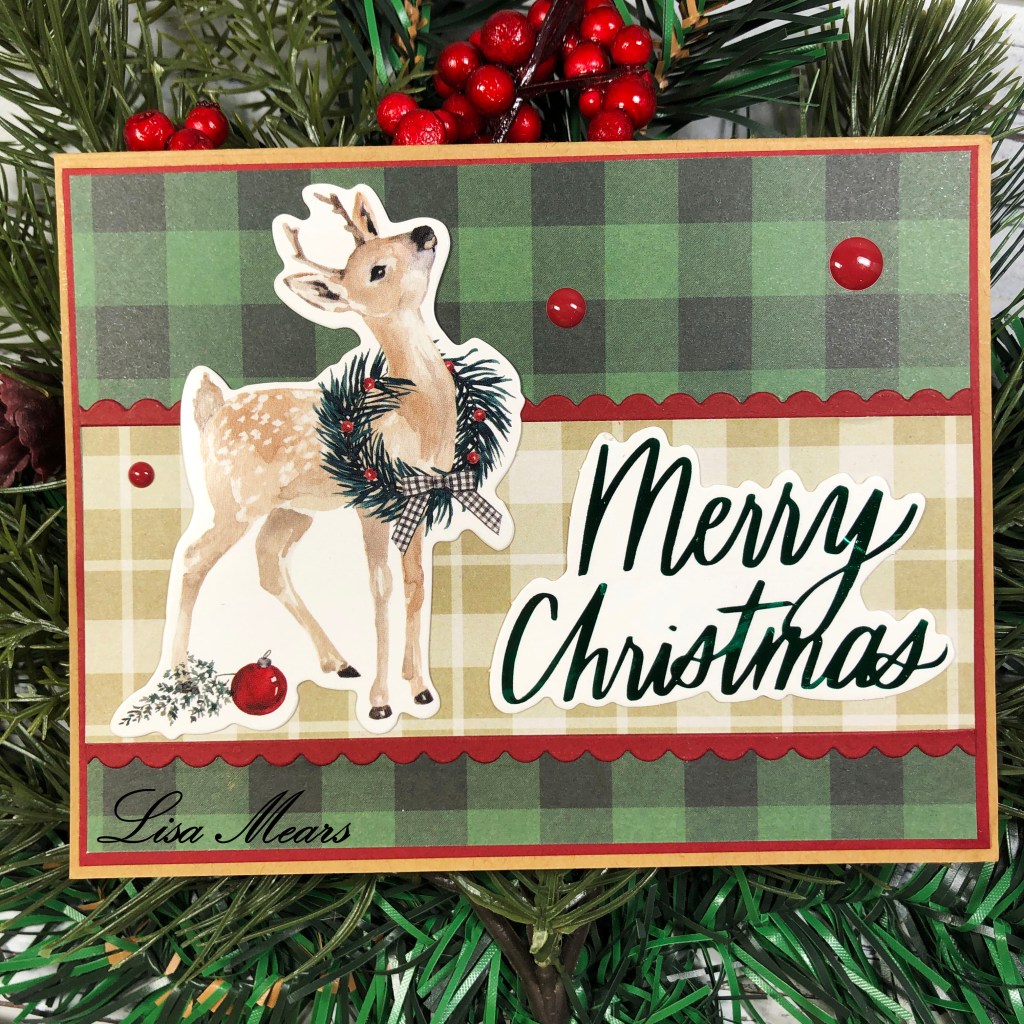
Today I’m sharing 26 cards I made using Recollections “Say Freeze” 6 x 6 paper pad, sticker pack, traditional Christmas die cut stickers, and matching solid cardstock.
I love pattern paper pads and I love to make Christmas cards. I saw this collection at Michaels craft store and ended up purchasing it on Black Friday for under $8. I wanted to see what I could do with this collection and ended up making 26 cards, 5 of which are duplicates. For some of the cards, I was inspired by a card sketch and other designs I came up with on my own.
This is such a great way to make a bunch of quick cards. I was going for a very simple look using only a few supplies. I mainly used only the paper and stickers in the collection, however, there are a few cards where I brought in some circle dies and scalloped circle dies to use on the cards. I also brought in a few pieces of green solid cardstock from my stash.
I have a video on my YouTube channel showing my design process of all of the cards. I also listed each card below along with measurements.
Enjoy!
Card 1
Red Card Layer – 4 1/8″ x 5 3/8″
Snowman Paper – cut to 4″ x 5 1/4″
Card 2
A2 Card Base (4 1/4 x 5 1/2″) – White
Red Card Layer – 4 1/8″ x 5 3/8″
Hot Cocoa Pattern Paper – 3 3/4″ x 5″
Red Rectangle Layer – 1 5/8″ x 2 3/8″
Green Snowflake Pattern Rectangle Layer – 1 1/2″ x 2 1/4″
Green Scalloped Circle Die – 2 3/4″ (The Stamps of Life)
Red Snowflake Stitched Circle Die – 2 1/4″ (The Stamps of Life)
Cards 3 & 4
A2 Card Base (4 1/4 x 5 1/2″) – Kraft
Cut off the border of the snowman pattern paper and then cut to 3″ tall
Red Card Layer – 4 1/8″ x 5 3/8″
Kraft Card Layer – 3 1/8″ x 5 3/8″
Cards 5 & 6
I used Mojo Monday Sketch 549.
A2 Card Base (4 1/4 x 5 1/2″) – White
Red Card Layer – 4 1/4″ x 5 1/2″
Poinsettia Pattern Paper – 4 1/8″ x 5 3/8″
Red Rectangle Layer – 2″ x 5 3/8″
Green Leaves Pattern Paper – 1 3/4″ x 5 3/8″
Red Scalloped Circle Die- 2 7/8″ (The Stamps of Life)
White Scalloped Circle Die – 2 3/8″ (The Stamps of Life)
Cards 7 & 8
I made two of these cards.
A2 Card Base (4 1/4 x 5 1/2″) – Kraft
Red Card Layer – 4 1/8″ x 5 3/8″
Green Plaid Pattern Paper – 4″ x 5 1/4″
Kraft Plaid Pattern Paper – 1 7/8 x 5 1/4″
Scalloped Border Die (The Stamps of Life Card September 2020 Card Kit)
Cards 9 & 10
A2 Card Base (4 1/4 x 5 1/2″) – White
Red Card Layer – 4 1/4″ x 5 1/2″
Merry & Bright Pattern Paper – 4 1/8″ x 5 3/8″
Red Rectangle Layer – 2 7/8″ x 4 5/8″
Green Snowflake Pattern Paper – 2 3/4″ x 4 1/2″
Card 11
Red Card Layer – 4 1/4″ x 5 1/2″
Snowman Pattern Paper – 4 1/8″ x 5 3/8″
Black Snowflake Pattern Paper – 1 7/8″ x 4 1/8″
Scalloped Border Die (The Stamps of Life Card September 2020 Card Kit)
Card 12
Red Card Layer – 4 1/4″ x 5 1/2″
Snowflake Pattern Paper – 4 1/8″ 5 3/8″
Red Rectangle Layer – 2″ x 5 3/8″
Green Plaid Pattern Paper – 1 7/8″ x 5 3/8″
Red Scalloped Circle Die- 4″ (The Stamps of Life)
Card 13
Red Card Layer – 4″ x 5 1/4″
Kraft Card Layer – 2 x 5 1/4″
Snowman Pattern Paper – 1 7/8″ x 5 1/4″
Card 14
A2 Card Base (4 1/4 x 5 1/2″) – White
Red Card Layer – 4 1/4″ x 5 1/2″
Snowflake Pattern Paper – 4 1/8″ x 5 3/8″
Red Rectangle Layer – 1 3/4″ x 4 5/8″
Green Snowflake Pattern Paper – 1 5/8″ x 4 1/2″
Green Plaid Pattern Paper – 7/8″ x 5 3/8″
Card 15
Red Card Layer – 4″ x 5 1/4″
Kraft Card Layer – 2 1/8″ x 5 1/4″
Green Plaid Pattern Paper – 2″ x 5 1/4″
Cards 16 & 17
A2 Card Base (4 1/4 x 5 1/2″) – Kraft
Green Card Layer – 3 1/8″ x 4 1/4″
Red Plaid Pattern Paper – 3 x 4 1/4″
Green Square Card Layer – 3 1/2″ x 3 1/2″
Red Square Card Layer – 3 3/8″ 3 3/8″
Card 18
A2 Card Base (4 1/4 x 5 1/2″) – White
Red Card Layer – 4 1/8″ x 5 3/8″
Hot Cocoa Pattern Paper – 4″ x 5 1/4″
Green Plaid Pattern Paper – 3/4″ x 5 1/4″
Three Red Stitched Circle Dies – 1 3/4″ (The Stamps of Life)
Card 19
White Card Layer – 4 1/8″ x 5 3/8″
Green Snowflake Pattern Paper – 3 1/4″ x 5 1/4″
Snowman Strip – Trim to 5 1/4 Horizontal
Red Scalloped Border Die (The Stamps of Life September 2020 Card Kit)
Card 20
A2 Card Base (4 1/4 x 5 1/2″) – Kraft
White Card Layer – 4 1/8 x 5 3/8″
Green Card Layer – 4″ x 5 1/4″
White Card Layer – 2 5/8″ x 5 1/4″
Red Plaid Pattern Paper – 2 1/2″ x 5 1/4″
White Scalloped Circle – 3 5/8″ (The Stamps of Life)
Red Stitched Circle – 2 3/4″ (The Stamps of Life)
Card 21
A2 Card Base (4 1/4 x 5 1/2″) – Green
Hot Cocoa Pattern Paper – 2″ x 5 1/4″
Red Pattern Paper – 2″ x 5 1/4″
Green Stitched Circle – 2 3/4″ (The Stamps of Life)
White Stitched Circle – 2 1/4″ (The Stamps of Life)
Card 22
Red Card Layer – 4 1/4″ x 5 1/2″
White Card Layer – 4 1/8″ x 5 3/8″
Three Pattern Paper Strips – 1 1/2″ x 3 5/8″ each
Card 23
Red Card Layer – 4 1/4″ x 5 1/2″
Green Leaves Pattern Paper – 2 5/8 x 5 3/8″
Plaid Pattern Paper – 1 1/4″ x 5 3/8″
Red Scalloped Circle – 3 1/4″ (The Stamps of Life)
Scallop Border Die (The Stamps of Life September 2020 Card Kit)
Card 24
A2 Card Base (4 1/4 x 5 1/2″) – White
Red Card Layer – 4 1/4″ x 5 1/2″
Leaves Pattern Paper – 4 1/8 x 5 3/8″
Red Card Layer (vertical) – 2 1/2 x 5 3/8″
Green Plaid Pattern Paper – 2 3/8″ x 5 3/8″
Red Card Layer (horizontal) – 1 3/4″ x 4 1/8″
Red Plaid Pattern Paper – 1 5/8″ x 4 1/8″
Card 25
A2 Card Base (4 1/4 x 5 1/2″) – White
Red Card Layer 4 1/4″ x 5 1/2″
Green Card Layer – 4 x 5 1/4″
Red Card Layer (vertical) – 2 1/8″ x 5 1/4″
Hot Cocoa Pattern Paper – 2″ x 5 1/4″
Red Card Layer (horizontal) – 2 1/8″ x 4″
Green Leaves Pattern Paper – 2″ x 4″
Red Stitched Circle Die – 2 3/4″ (The Stamps of Life)
Card 26
A2 Card Base (4 1/4 x 5 1/2″) – White
Red Card Layer – 4 1/8 x 5 3/8″
I used the sticker from the sticker book and added a red piece of card stock underneath which I trimmed to size with my scissors.
Supplies
- Recollections Say Freeze 6 x 6 Paper Pad (Amazon)
- Recollections Say Freeze 6 x 6 Paper Pad (Michaels)
- Say Freeze Stickers (Michaels)
- Traditional Christmas Stickers by Recollections (Michaels)
- Poinsettia 8.5″ x 11″ Cardstock Paper by Recollections™ Christmas, 40 Sheets
- Scalloped Circle Dies
- Stitched Circle Dies
- Scalloped border die
- Circle Dies
- Art Glitter Glue
- Arteza Foam Mounting Tape
- Hot Glue Gun
- Powder Tool
Follow me for more inspiration:
- Blog – https://lisamearscarddesigns.com/
- Instagram – LisaMearsCardDesigns
- Facebook – Lisa Mears Card Designs
- Pinterest – https://www.pinterest.com/lisamearscarddesigns/
- You Tube – https://www.youtube.com/c/LisaMearsCardDesigns
Happy Crafting!
Lisa

I love what you did with this paper pad!!! Amazing!! Lisa, where do you find your epoxy dots?
LikeLike
Hi Caroline. Thank you so much!! Most of my epoxy dots are from The Stamps of Life, but unfortunately they don’t sell them individually. They are usually part of card kits or embellishment packs.
LikeLike
Thanks so much for your quick reply Lisa!! I’m a gold club member! I wish we received the enamel dots more often but have been enjoying Ken’s freebies this year!!
LikeLike
Thanks so much for all the work you put into your video and listing all the measurements on your blog! I did buy this paper pack so I was looking for more inspiration apart from the couple of cards I had made. However, now I am wishing I had purchased the coordinating stickers as they really add to the designs — next year I will be doing that for sure.
LikeLike
You are welcome Sheryl. I know Michaels sells their products online so if you really want those stickers, see if they can be shipped to you.
LikeLike
Hi I would to like to know what pound of A2 white cardstock paper. Is it 110 pds ? Thank you
LikeLike
Hi Barbara. I’m assuming you are referring to the card bases? I used 80 lb cardstock for the card bases, however, some of the card bases were from pre-made card bases that I purchased from Hobby Lobby. I’m not sure of the weight of the pre-made card bases.
LikeLike
Thank you so much for sharing! You have no idea how crippling it is for me to start… you gave me lots and lots of ideas. I am terrible about grabbing all these matching sets when they come out and then hoarding them instead of using them!
LikeLike
You are welcome Amy. I hope I gave you some inspiration to use your collection.
LikeLike
Loved your cards. I live in Australia on the south coast of new south Wales.
LikeLiked by 1 person
HI Fiona. Thank you so much.
LikeLike