
Hello!
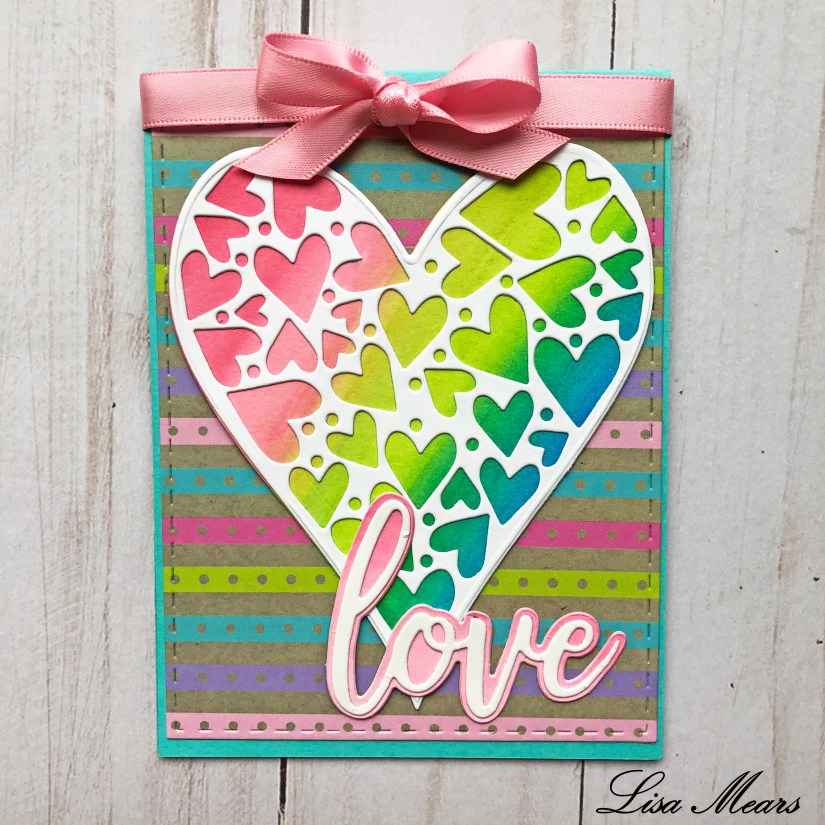
Just in time for Valentine’s Day or just to say “I love you,” this card is so beautiful with its vibrant colors.
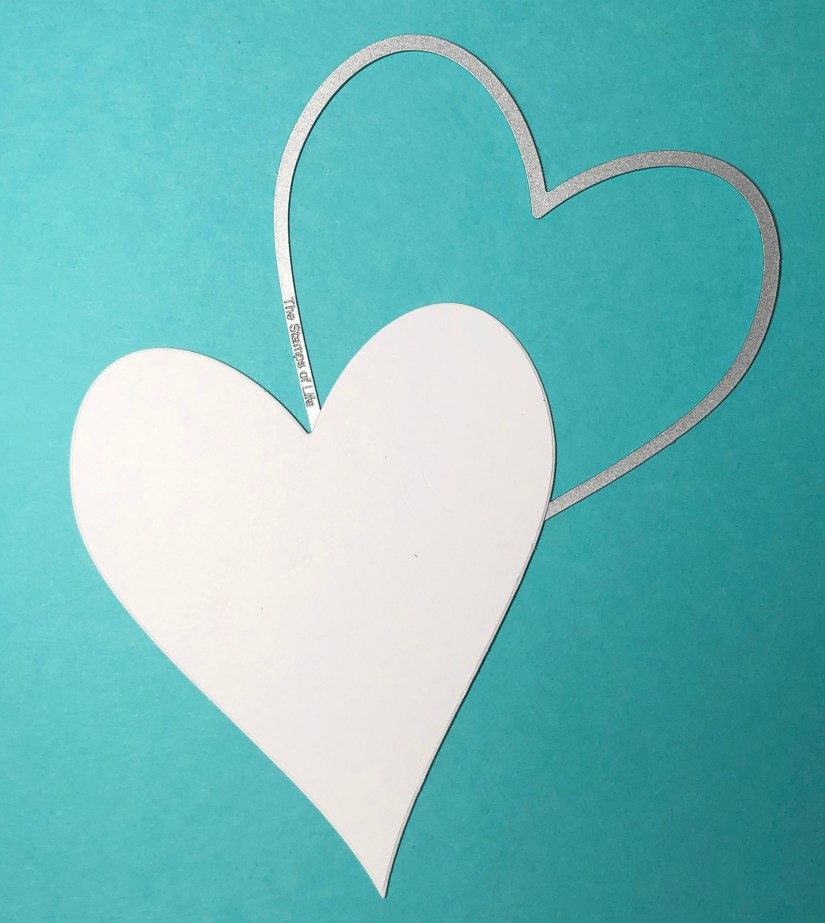
First, I die cut the heart shape from the heart die in the Heart Background – Limited Edition die set from The Stamps of Life. I die cut it using Strathmore 300 Series Bristol Smooth Paper Pad.
Next, I water colored the heart using Spectrum Sparkle markers. The colors I used were solar red, emerald green, and blue topaz. After I put some color down, I used a paint brush with a small amount of water to spread the color on the heart.

Next, I used the center heart die cut and layered it inside of the big heart and die cut it onto white card stock. Before die cutting, I put double-sided adhesive on the opposite side of the card stock. This made it easier to adhere cut piece in the next step.

Next, I peeled the heart away from the adhesive and adhered it onto the colored heart.


Using the same water color method as described above, I colored with the solar red Spectrum Sparkle marker onto the Bristol Smooth paper and spread the color onto the paper using a water brush. Next, I die cut the shadow layer of the Love die from the Love Statement Set from The Stamps of Life.


Next, I used the Love word die and die cut using white card stock. Before die cutting, I put double-sided adhesive onto the back of the white card stock which made it easier to adhere to the shadow layer. (Note: In case you are wondering, the shadow layer of the Love die cut in the picture below is a slightly darker pink than the one on the finished card because I actually die cut the Love piece twice to create two identical pieces for two cards. It shows darker here because for this die cut, I applied more ink onto the paper.)


Using Ocean card stock from The Stamps of Life, I cut an A2 size card base. Next, using the Hooray patterned paper pad from The Stamps of Life, I die cut a piece of patterned paper using the large stitched rectangle die.

I adhered the stitched rectangle piece of patterned paper to the front of the card base. Next, I adhered the heart on top of the rectangle piece and then I adhered the Love statement to the bottom right corner and ended with a pink bow at the top of the card.
For the inside of the card, I die cut a large stitched rectangle from Candy card stock and stamped the sentiment from the Love Statement Set.

Follow me for more card inspiration:
- Blog – https://lisamearsdesigns.wordpress.com/
- Instagram – LisaMearsCardDesigns
- Facebook – Lisa Mears Card Designs
- Pinterest – https://www.pinterest.com/lisamearscarddesigns/
- You Tube – https://www.youtube.com/channel/UCCp-UZ6zIWzz8XC5xjE1Xeg
Happy Crafting!
Lisa
