
Hello crafty friends.
Shaker cards are some of my favorite cards to make, and I’m so excited to share some Halloween shaker cards that I made using some new products from Pretty Pink Posh!

Pretty Pink Posh released some amazing Halloween stamps, dies, and stencils. Be sure to check out the entire release in my video below.
My cards are part of a Pretty Pink Posh Instagram Hop where you have a chance to win a $30 gift certificate to their shop. For more information, check out my Instagram post on my Instagram page at https://www.instagram.com/lisamearsdesigns/.
If you would like to see how I made my cards, then watch my video here.
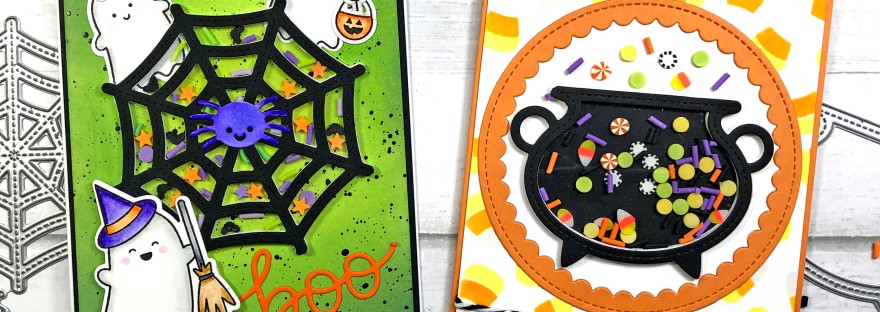
My first card features the Spider Web Die Set, Ghosts Friends Stamp Set, and Boo Script Die Set.
For the card background, I cut a piece of white cardstock to 4″ x 5 1/4″. I inked the cardstock with Distress Oxide inks. I used Twisted Citron in the center, followed by Mowed Lawn, and then Rustic Wilderness along the outside edges. Next, I mixed some black acrylic paint with water to thin it out and then flicked some of the paint onto the background. I set this aside to dry.
Next, I stamped the ghosts from the Ghost Friends stamp set onto Bristol Smooth Cardstock and colored the ghosts with Zig Clean Color Real Brush Pens. The colors I used are as follows:
Ghosts – Light Gray/Blender (body), Sugar Almond Pink (cheeks)
Hat – Deep Violet, Violet, English Lavender
Hat Stripe – Orange, Blender
Pumpkin – Orange, Blender
Broom – Beige, Gray, Blender
Lollypop – Sugar Almond Pink, Peach Pink
Bow – Violet, English Lavender
Bow – Peach Pink, Blender
I die cut the Spider Web die set with double-sided adhesive foam. I placed the spider web foam piece in the center of the card layer making sure to add two ghosts slightly behind the spider web foam piece before fully adhering it to the card.
I also die cut the spider web with black cardstock and glued it to a piece of acetate. I cut the acetate along the outside edges of the black spider web until all of the excess acetate was removed from the spider web. I set this piece aside and then filled the spider web foam piece with the Spooky Night Clay Confetti and the Monster Mash Clay Confetti. Once the spider web was filled with confetti, I glued the black spider web acetate piece to the top of the spider web foam piece to enclose all of the shaker pieces. Be sure to watch my video to see this process in action.
I added die cut the spider from the die that comes with the spider web die and colored it with Violet and English Lavender Zig Clean Color Real Brush Pens. I added the spider to the center of the web.
I added the sentiment “boo” from the Boo Script die set and then added this card layer to a piece of black cardstock that measures 4 1/8″ x 5 3/8″. I added the final layer to an A2 size card base.

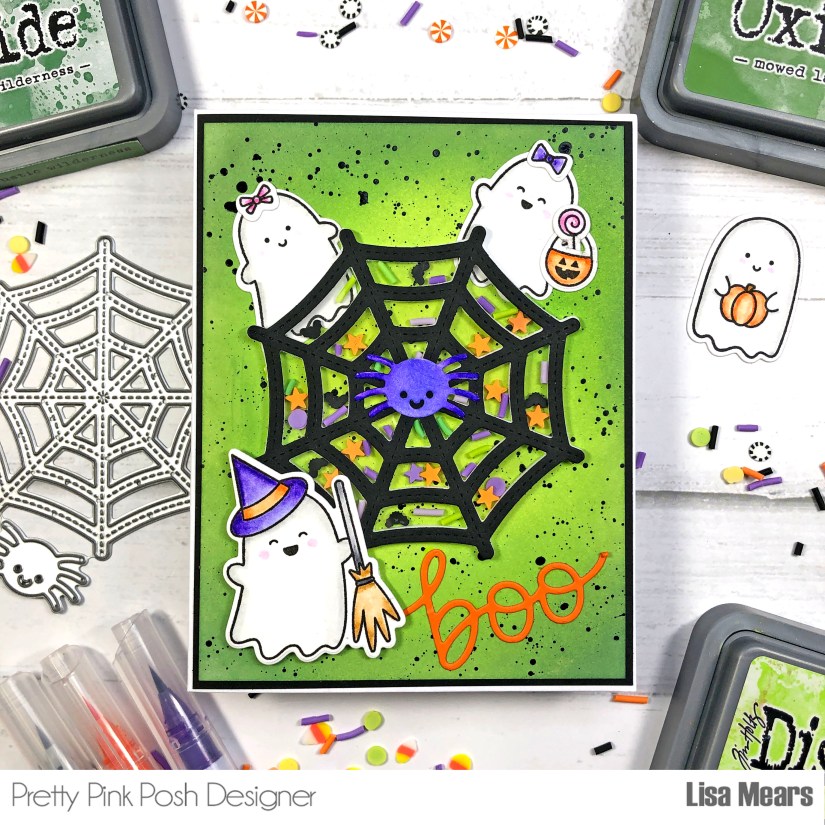
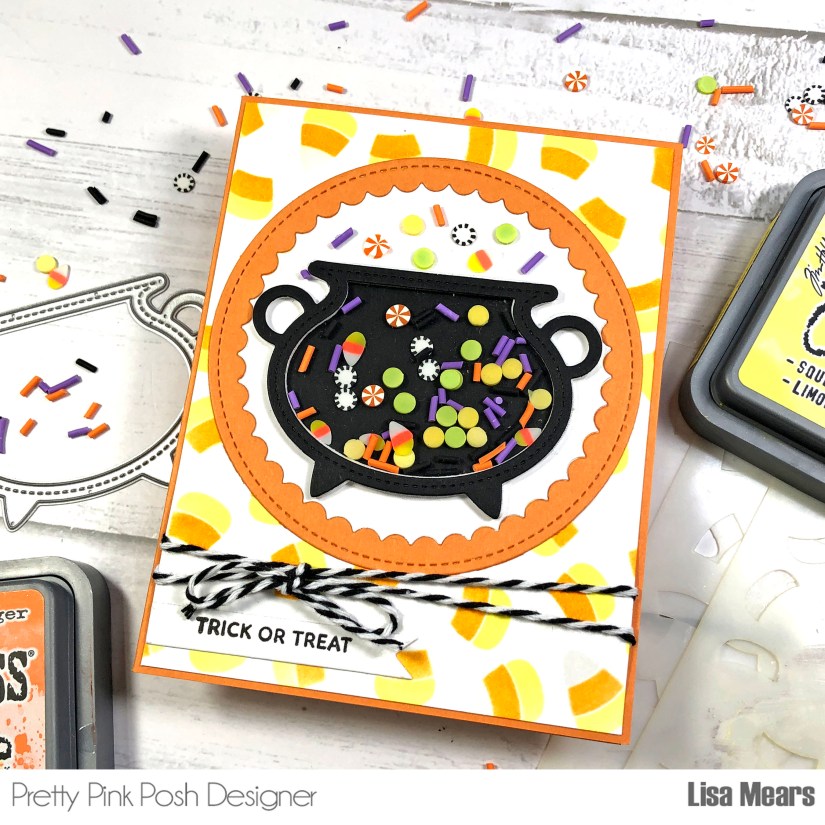
My next card features the Cauldron Shaker Die Set, Layered Candy Corn Stencil, and the Scalloped Circle Die Set.
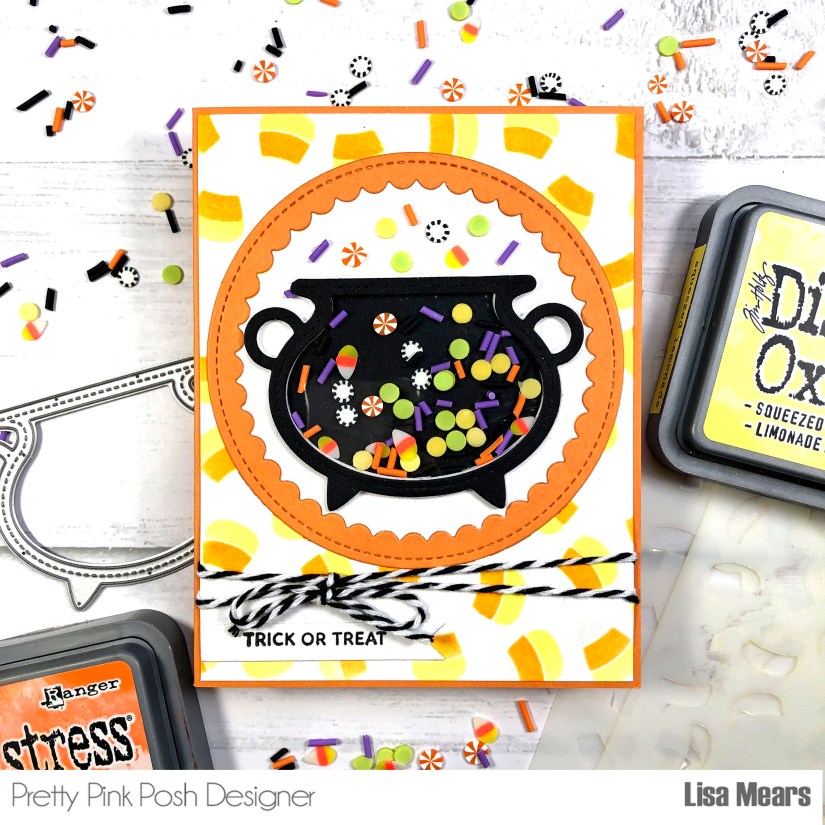
I started by creating the candy corn background for my card. I cut a piece of white cardstock to 4 1/8″ x 5 3/8″ and used the Layered Candy Corn Stencil with the following inks: Squeezed Lemonade Distress Oxide ink, Carved Pumpkin Distress Oxide ink, and Scrapbook.com Fog ink.
Next, I cut a Scallop Circle die from orange and white cardstock. I used the orange scallop frame and the white inside piece for the circle on my card.
I used the Cauldron Shaker die and made a shaker for the centerpiece of my card. Be sure to watch my video to see how I made the cauldron shaker!
I added the Halloween Party Clay Confetti to the inside of the cauldron. The confetti pieces are so much fun with pieces that look like real candy! My favorites are the ones that look like real candy corn! I glued some of the confetti pieces above the cauldron so it would look like the pieces are boiling out of it.
I used a sentiment from the Halloween Envelopes stamp set and die cut it with the banner die from the coordinating die set. I tied twine around the lower portion of the card layer and then added it to an A2 size orange card base.
Thank you so much for stopping by today. Have a SPOOKTACULAR day!
Lisa Mears
Follow me for more inspiration:
- Blog – https://lisamearsdesigns.com/
- Instagram – LisaMearsDesigns
- Facebook – Lisa Mears Designs
- Pinterest – https://www.pinterest.com/lisamearsdesigns/
- You Tube – https://www.youtube.com/c/LisaMearsDesigns
- Etsy – https://www.etsy.com/shop/LisaMearsCardDesigns
